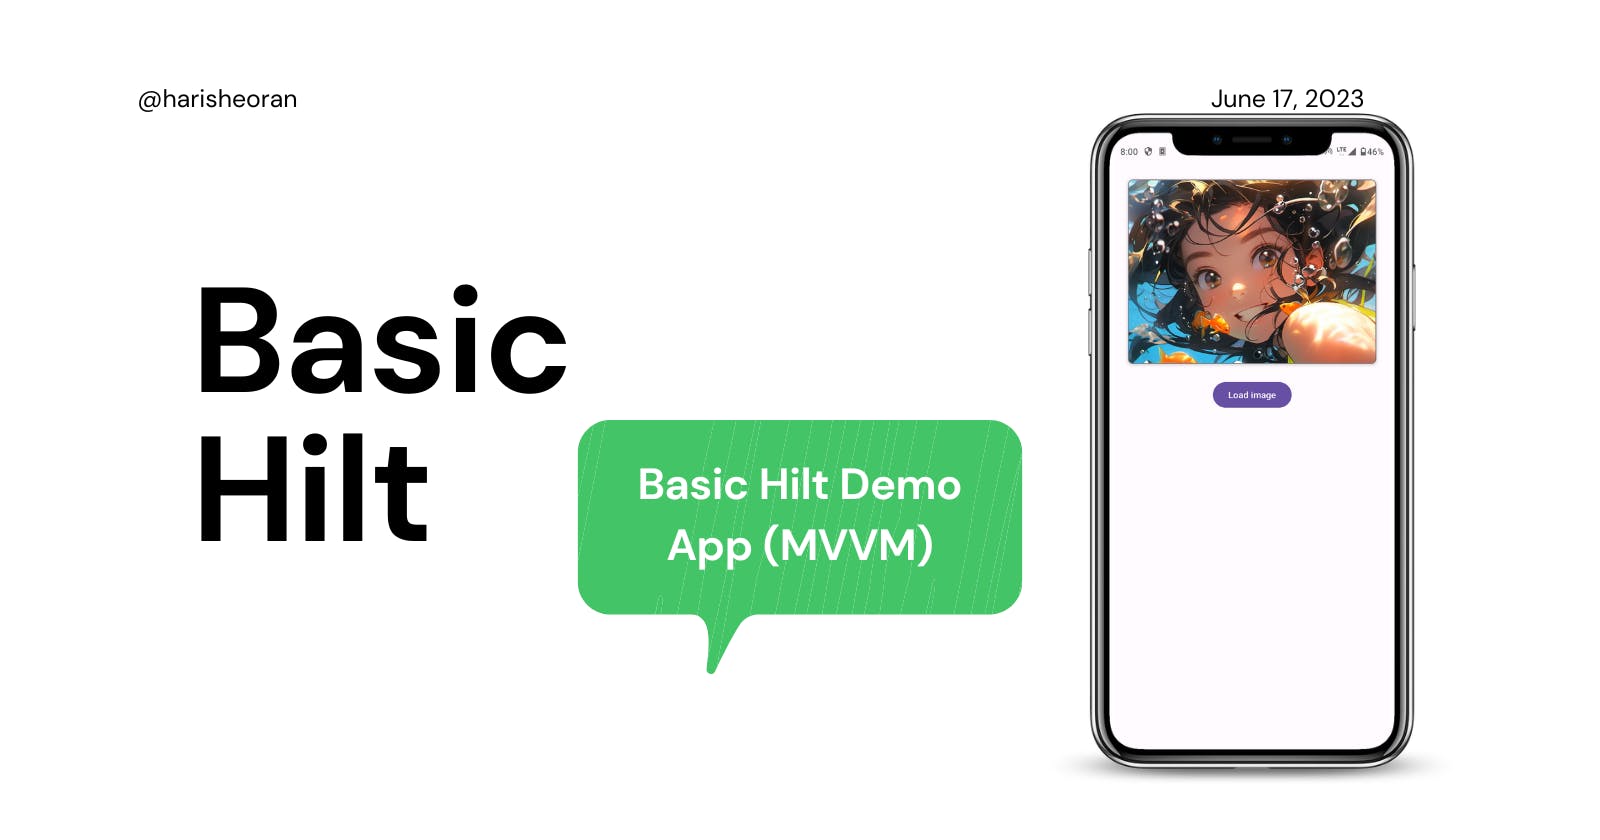
We are going to learn about Hilt by using Hilt as a dependency Injection in a basic MVVM app.
1. Clone the starter app from the "starter_app" branch - Github Code
2. Understand file structure (MVVM structure)
MainAcivity contains UI Logic
MyViewModel contains the app's state logic
MyRepository have methods to fetch data from MyService
MyServie provides image URLs.
@HiltAndroidAppclass
MyApplication: Application() {
     override fun onCreate() {
         super.onCreate()
    }
}
All apps that use Hilt must contain an Application class that is annotated with @HiltAndroidApp.
@HiltAndroidApp triggers Hilt's code generation, including a base class for your application that serves as the application-level dependency container.
This generated Hilt component is attached to the Application object's lifecycle and provides dependencies to it. Additionally, it is the parent component of the app, which means that other components can access the dependencies that it provides.
4. Inject dependencies into Android classes.
Once Hilt is set up in your Application class and an application-level component is available, Hilt can provide dependencies to other Android classes that have the @AndroidEntryPoint annotation:
MainActivity
@AndroidEntryPointclass MainActivity : AppCompatActivity() {}
and in our Manifest file, in the application tag
android:name=".MyApplication"
5. Now, start from MyRepository
- First Identify the class dependency - which is the service instance.
class MyRepository {
    private val service = MyService()
    fun getRandomImageUrl(): String {
        return service.getImageUrl()
    }
}
To perform field injection, hilt had to know how to provide instances of dependency from the corresponding component.
A binding contains the information necessary to provide instances of a type as a dependency.
To provide binding to the Hilt is by constructor injection using @Inject annotation, and the parameters of that constructor are the dependencies of that class.
class MyRepository @Inject constructor(private val service: MyService) {
    fun getRandomImageUrl(): String {
        return service.getImageUrl()
    }
}
3. ViewModel
In ViewModel, we have a dependency on the MyRepository instance.
Simply we can't pass the MyRepository instance in the constructor of ViewModel simply, that's a whole different scenario, but Hilt has an annotation to make it work and it is one of the best features of Hilt
@HiltViewModelclass MyViewModel @Inject constructor(private val repository: MyRepository) : ViewModel() {
}
4. MainActivity
We have an instance of Picasso as a dependency, and it is created every time when a new photo is shown.
Sometimes a type can't be constructed, as you cannot constructor-inject a type that you do not own like 3rd party library.
Now you have to provide info to Hilt about how to construct the needed object instance,
Hilt Module
A Hilt module is a class that is annotated with @Module. Like a Dagger module, it informs Hilt how to provide instances of certain types. Unlike Dagger modules, you must annotate Hilt modules with @InstallIn to tell Hilt which Android class each module will be used or installed in.
- Create a singleton class Picasso Module
@Module
@InstallIn(SingletonComponent::class)
object PicassoModule {
    @Provides
    fun providePicasso(): Picasso {
        return Picasso.get()
    }
}
you can tell Hilt how to provide instances of this type by creating a function inside a Hilt module and annotating that function with @Provides.
The annotated function supplies the following information to Hilt:
The function return type tells Hilt what type the function provides instances of.
The function parameters tell Hilt the dependencies of the corresponding type.
The function body tells Hilt how to provide an instance of the corresponding type. Hilt executes the function body every time it needs to provide an instance of that type.
5. Create a Util class to load images from Picasso
class PicassoUtil @Inject constructor(private val picasso: Picasso) {
    fun loadImage(imgUrl: String, imgView: ImageView) {
         picasso.load(imgUrl).into(imgView)
    }
}
it automatically takes Picasso from Picasso Module
and now Update our MainActivity
@AndroidEntryPointclass MainActivity : AppCompatActivity() {
    ...

    @Inject lateinit var picassoUtil: PicassoUtil

    ...
    override fun onCreate(savedInstanceState: Bundle?) {
         ...
         ViewModel.image.observe(this) {
             picassoUtil.loadImage(it, binding.imageView)
         }
}
That's it, see you next time.
here is the code Source Code
